Elementor Spline Animation Documentation
Version: 1.0.0
Author: DesignSutra
Thank you for purchasing the Elementor Spline Animation plugin! We are thrilled to have you as a customer. This documentation will guide you through installing the plugin and using its powerful features to create stunning 3D scroll animations on your Elementor websites.
For live examples and creative inspiration, please visit our official demo page: View Live Demos
Installation
Installing the plugin is simple and follows the standard WordPress installation process.
Navigate to your WordPress admin dashboard.
Go to Plugins > Add New.
Click the Upload Plugin button at the top of the page.
Upload the elementor-spline-animation.zip file that you downloaded.
Once uploaded, click Activate Plugin
After activation, you will find the "Spline Scene (React)" widget in the Elementor editor, under the "General" or "Spline Elements" category.
Plugin Settings
You can access global settings for the plugin by navigating to Settings > Spline Animation in your WordPress dashboard.
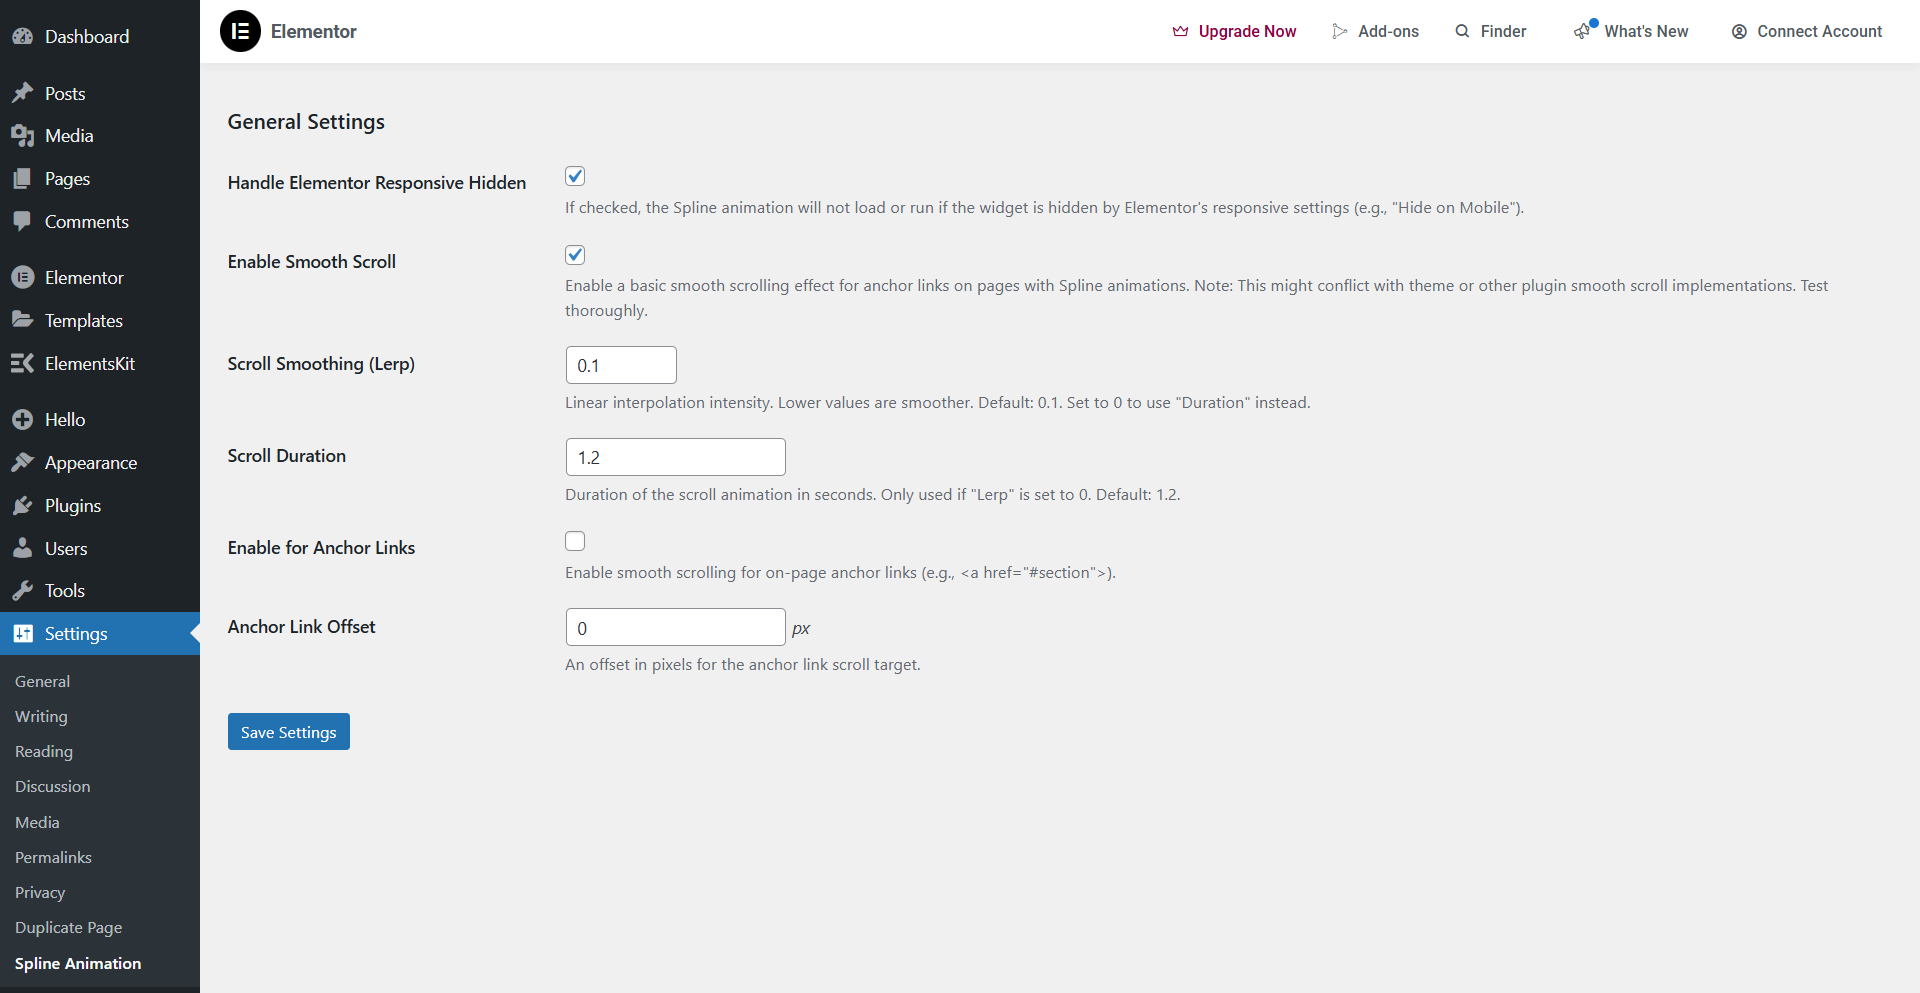
- Handle Elementor Responsive Hidden: Supports Elementors responsive settings when enabled (e.g. “Hide On Mobile”).
- Enable Smooth Scroll: Turns on a Lenis-powered smooth scroll effect for the entire site. This can create a more fluid scrolling experience for your animations.
- Scroll Smoothing (Lerp) & Duration: Fine-tune the behaviour of the smooth scroll effect.
- Enable for Anchor Links: If enabled, on-page anchor links (e.g., a href=”#section”) will also scroll smoothly.
Quick Start: Your First Animation
Follow these simple steps to get your first 3D animation running in minutes.
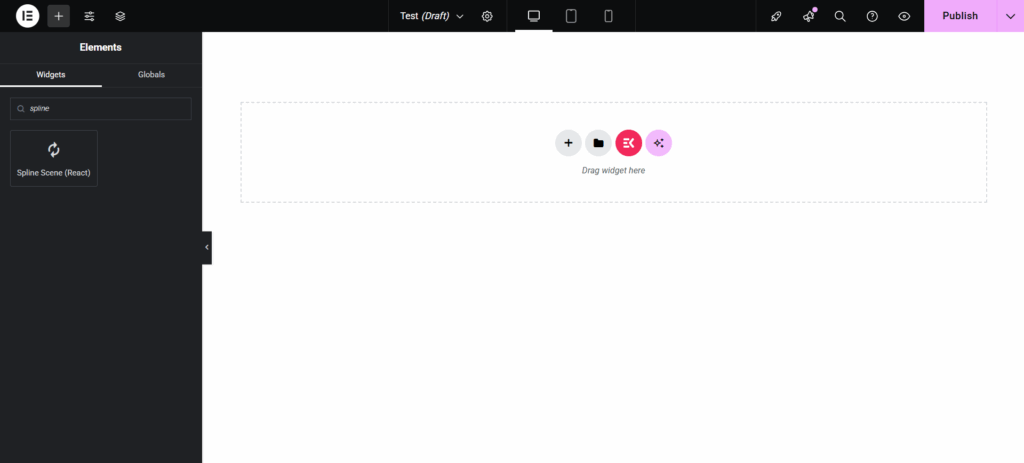
1.Add the Widget: In the Elementor editor, drag the “Spline Scene (React)” widget onto your page.
2.Get Your Spline Assets:
- Open your scene on the Spline website. Click the “Export” button and copy the Public/Code URL.
- Select the object you want to animate and copy its exact Name or Object Development ID from the left-hand panel. This is case-sensitive.
3. Link the Scene: In the widget’s “Spline Scene” tab, paste the URL into the Spline Scene URL field. You should see your 3D scene load instantly in the editor.
4.Enable Animation: Go to the “Scroll Animation Settings” tab and toggle on Enable Scroll Animation.
5.Create a Step: Go to the “Animation Steps” tab and click “+ Add Item”.
- Paste your object’s name/ID into the Object Name/ID field.
- Set “Step Starts At (%)”to `0` and “Step Ends At (%)” to `100`.
- Go to the “Rotation” tab inside the step and set “Target Rot Y (°)” to `360`.
That's it! Now scroll up and down in the Elementor preview window. You will see your object perform a full 360-degree rotation in sync with the page scroll.
Widget Controls in Detail
This section provides a detailed explanation of every control available in the widget.
Spline Scene Tab
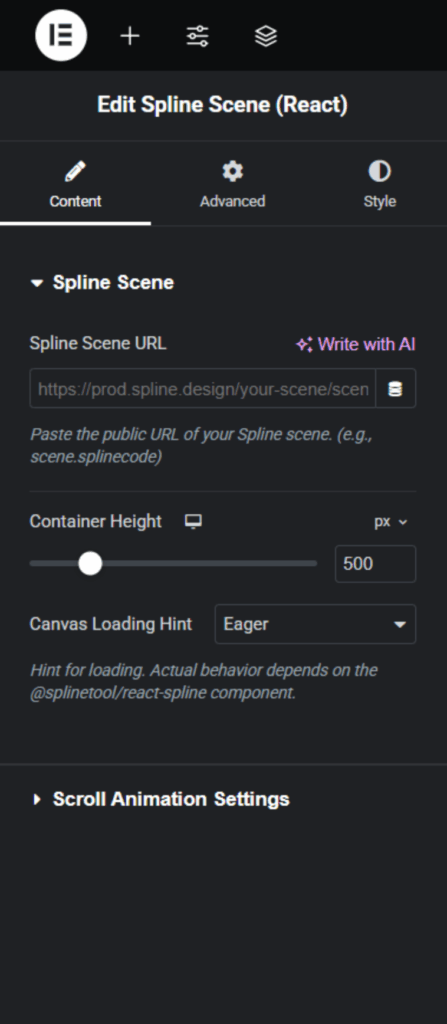
- Spline Scene URL: The most important field. This is where you paste the public URL of your Spline scene.
- Container Height: Sets the height of the widget's container. You can use pixels (px), viewport height (vh), or percentages (%).
Scroll Animation Settings Tab
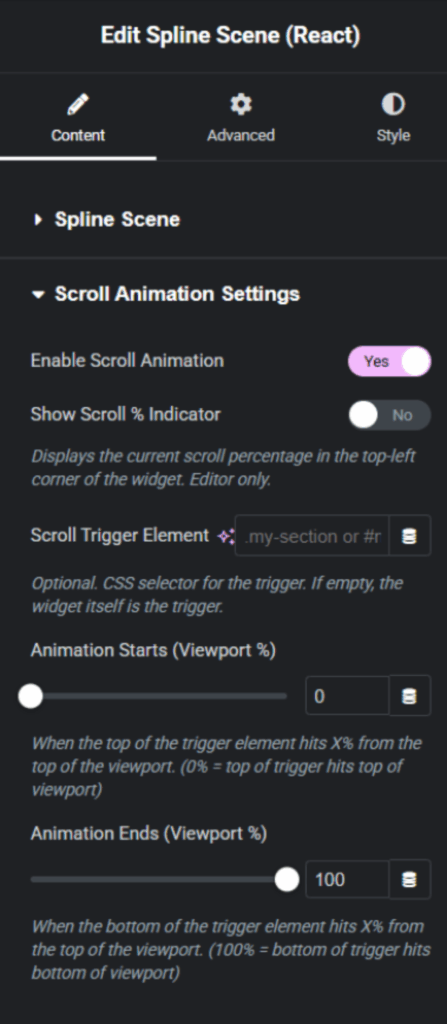
- Enable Scroll Animation: The master switch to turn all scroll-based animations on or off.
- Show Scroll % Indicator: A helpful debugging tool that shows the current scroll progress in the top-left corner. This only appears inside the Elementor editor.
- Scroll Trigger Element: By default, the animation is tied to when the widget itself is visible in the viewport. You can enter a CSS selector here (like
.my-section or #section-id) to have the animation controlled by a different section on the page.
- Animation Starts / Ends (Viewport %): These sliders control the overall scroll "trigger" area, defining when the animation begins and ends relative to the trigger element's position in the viewport.
.my-section or #section-id) to have the animation controlled by a different section on the page.Animation Steps Repeater
This is the heart of the plugin, allowing you to build complex animation sequences.
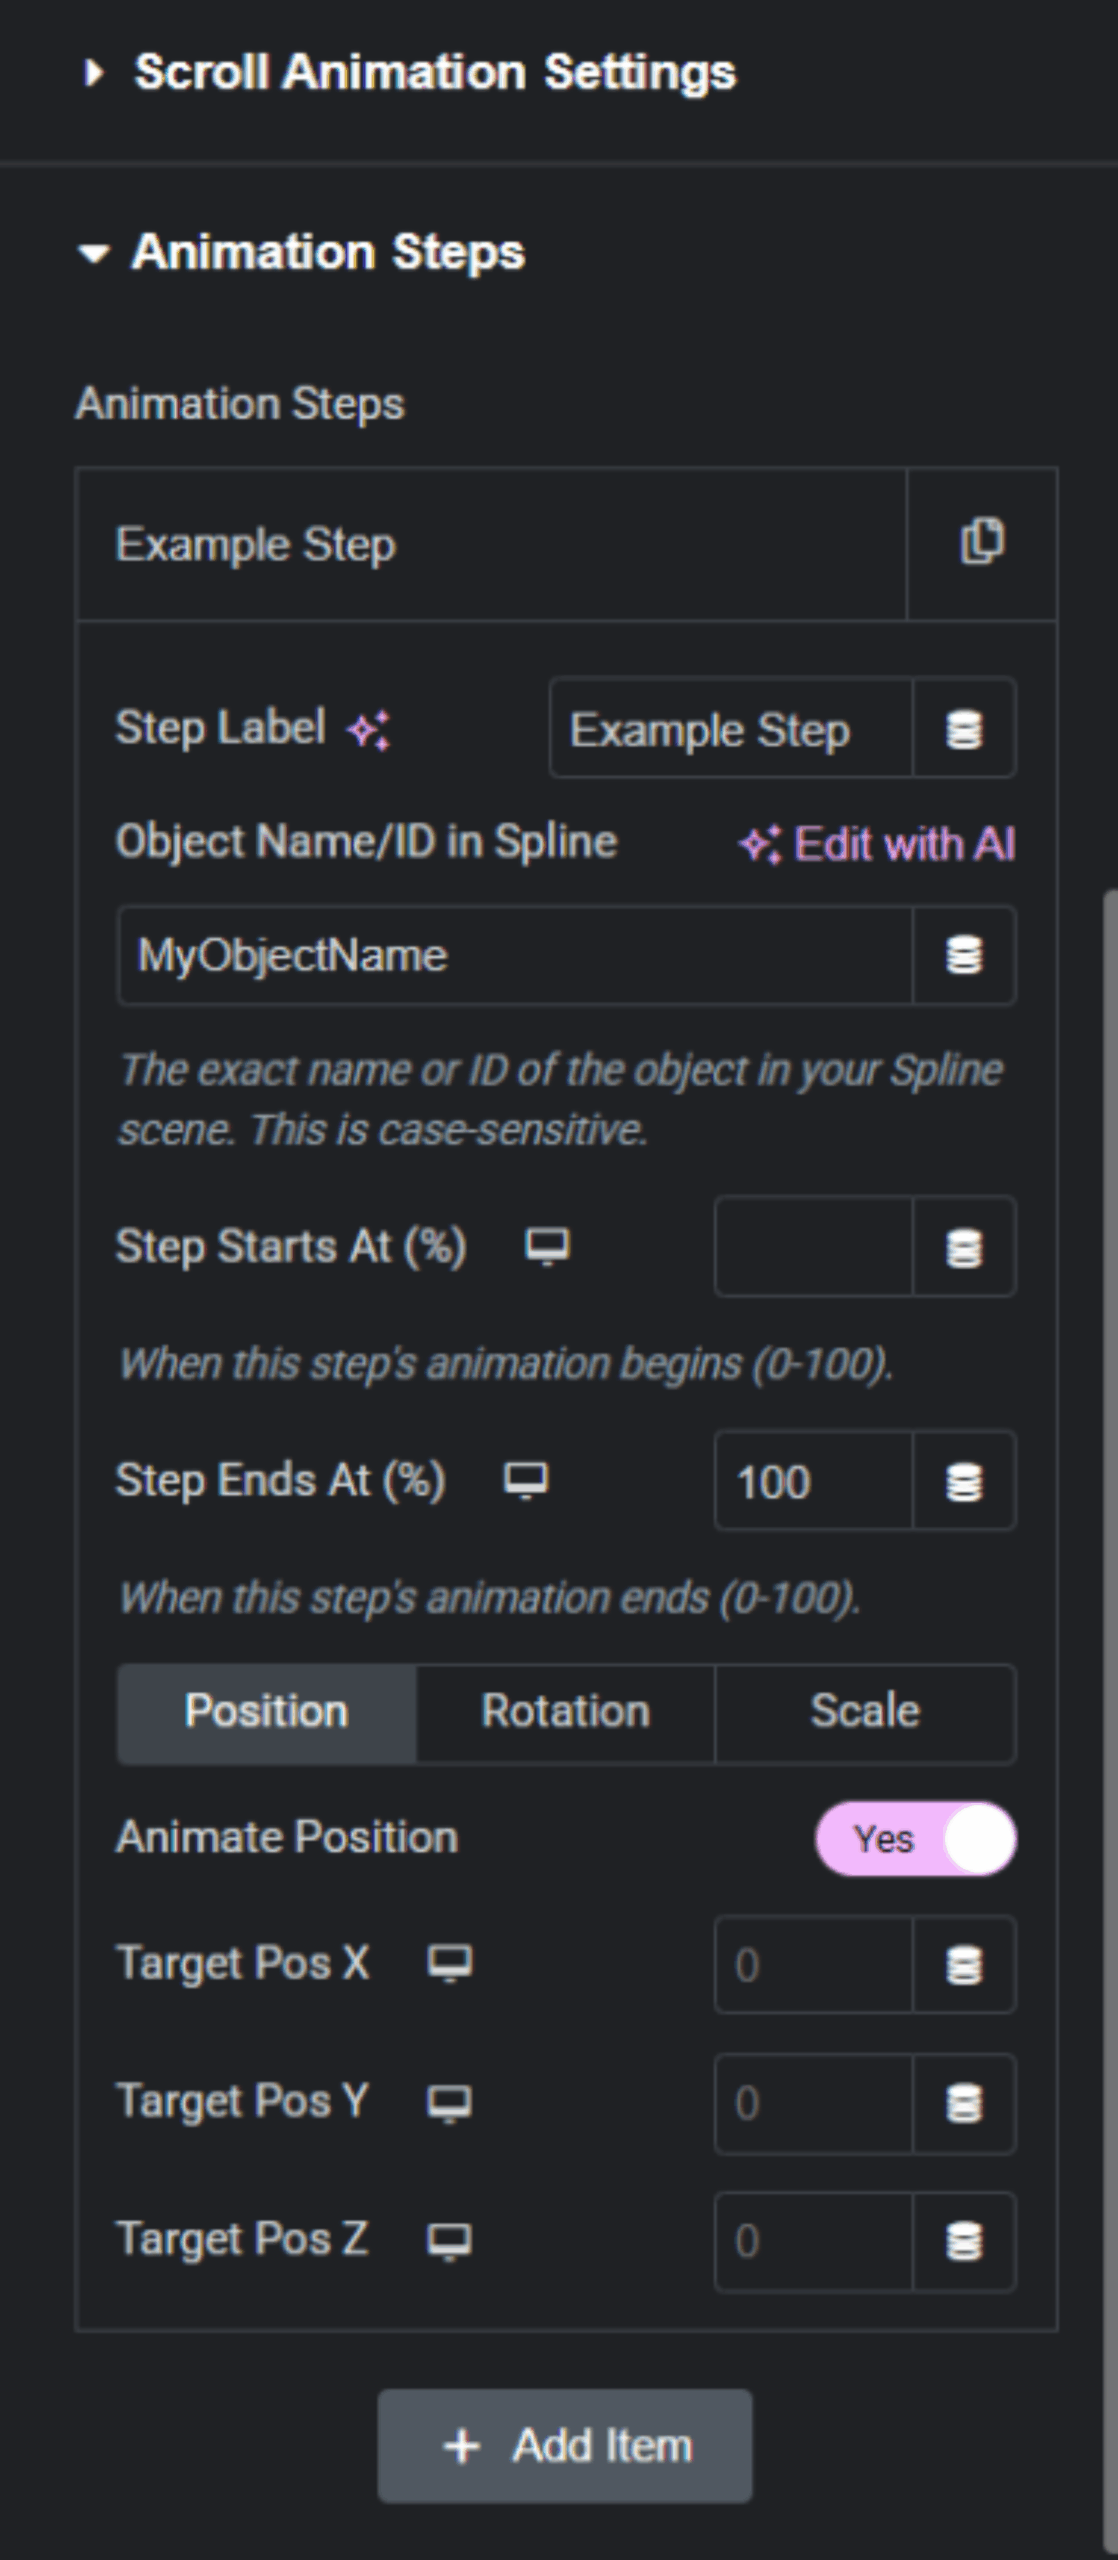
- Step Label: A simple label for your own organization (e.g., "Cube Entrance Animation").
- Object Name/ID in Spline: The case-sensitive name of the 3D object you want to animate in this step.
- Step Starts At (%) / Step Ends At (%): Defines the duration of this specific animation step within the overall scroll timeline (0% to 100%). You can have multiple steps overlap or run in sequence.
- Position / Rotation / Scale Tabs: Within each tab, you can enable that transformation and set the target X, Y, and Z values. All of these values are **fully responsive**, allowing you to set different animations for desktop, tablet, and mobile.
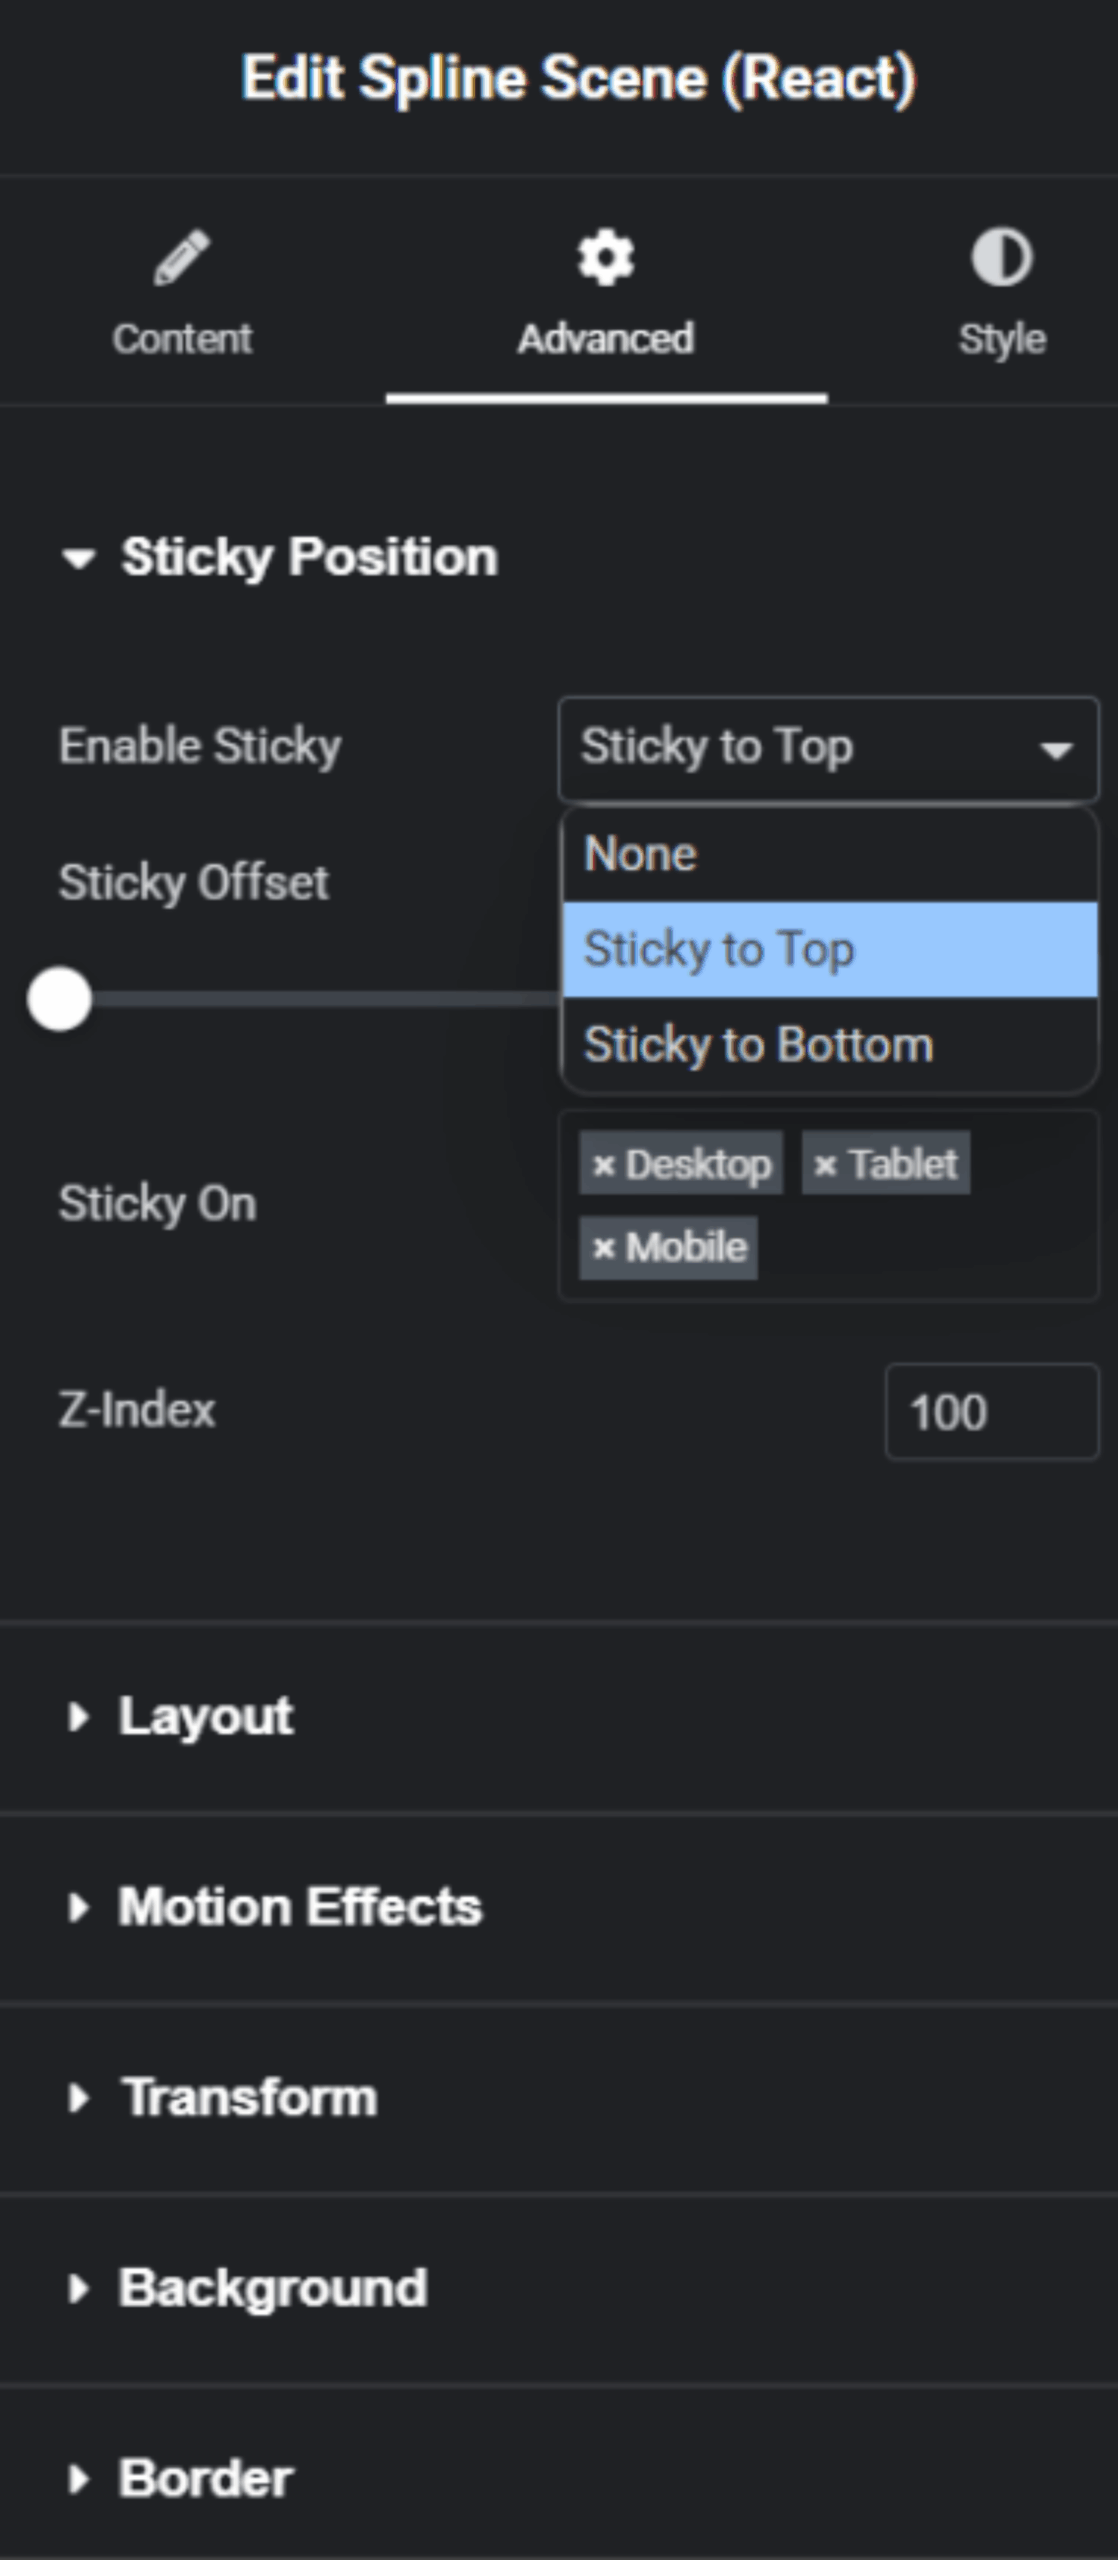
Sticky Position Tab